
Beginner’s Guide to Starting Machine Embroidery
Machine embroidery is a wonderful mix of creativity and technology. It allows you to turn simple fabric into stunning, personalized pieces using a home embroidery machine. Whether you're looking to start a new hobby, launch a small business, or add custom touches to your sewing projects, machine embroidery is both exciting and rewarding.
If you're brand new to this craft, don't worry. This guide will walk you through everything you need to know to get started — step by step.
1. Choose the Right Embroidery Machine
Not all embroidery machines are the same. As a beginner, look for a machine that is:
-
User-friendly with clear instructions
-
Comes with built-in designs
-
Has USB or Wi-Fi support to import new patterns
-
Offers hoop size options for different project types
Some popular beginner-friendly brands include Brother, Janome, Singer, and Bernina.
2. Understand Embroidery File Formats
Embroidery machines read specific file formats. The most common ones include:
-
PES (Brother)
-
JEF (Janome)
-
DST (Tajima/Commercial)
-
EXP, VP3, XXX, etc.
Make sure to download patterns that match your machine's supported format. If you're buying from an embroidery design website, it usually offers multiple formats.
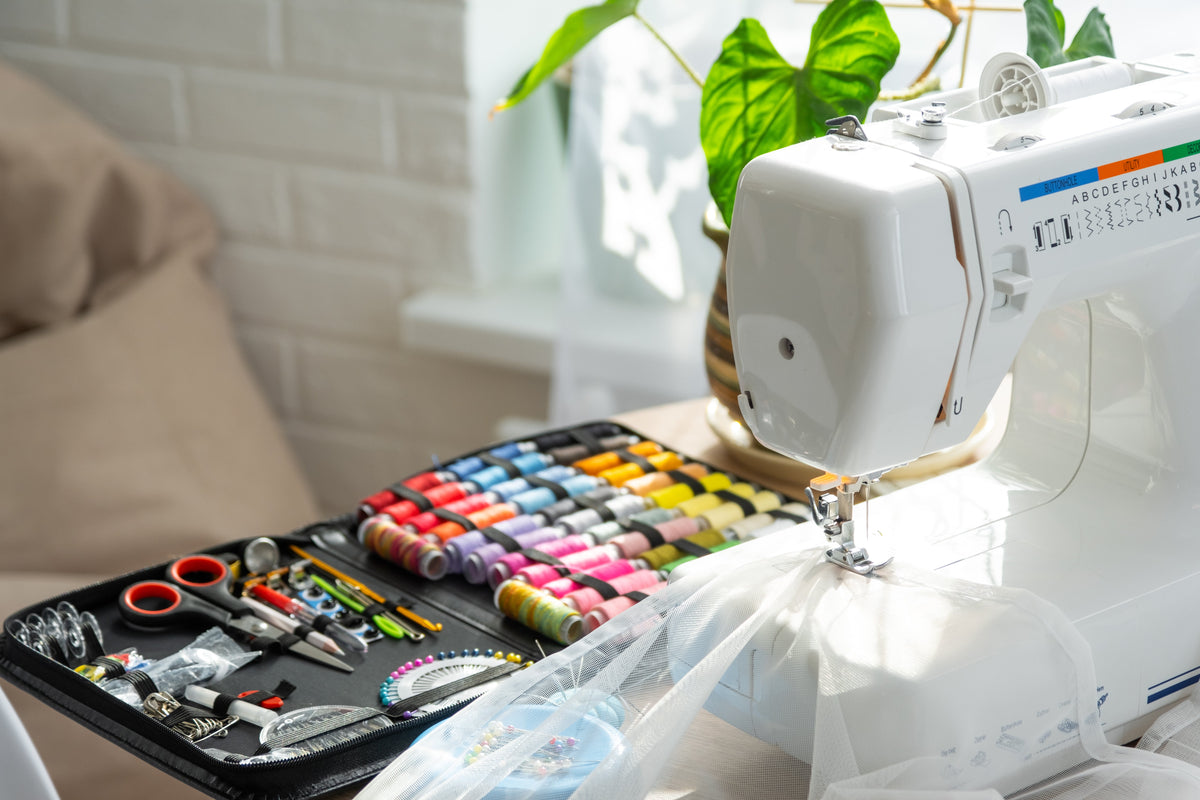
3. Get the Right Supplies
To begin stitching, you’ll need more than just a machine. Here's what you should have:
-
Stabilizers (tear-away, cut-away, or water-soluble depending on the fabric)
-
Embroidery thread (polyester or rayon is best)
-
Bobbin thread
-
Embroidery needles
-
Embroidery hoops (compatible with your machine)
-
Good-quality fabric for testing and projects
-
Small scissors for thread trimming
4. Learn About Stabilizers and When to Use Them
A stabilizer keeps your fabric from stretching or shifting while stitching. Choose the right one based on your fabric:
-
Tear-away: For stable fabrics like cotton or denim
-
Cut-away: For stretchy fabrics like knits or t-shirts
-
Water-soluble: For freestanding lace or sheer fabrics
5. Practice with Simple Designs First
Don’t start with complex or dense designs. Instead, practice using:
-
Simple line art
-
Minimal stitch count designs
-
Preloaded patterns on your machine
This helps you understand how your machine operates and how the design behaves on fabric.
6. Hoop Your Fabric Correctly
Improper hooping can cause misalignment and fabric puckering. Make sure the fabric is:
-
Smooth and flat
-
Tightly hooped (not overstretched)
-
Centered in the hoop according to the design layout
Always hoop both your fabric and stabilizer unless using a floating method (advanced technique).
7. Test Before Final Stitch-Out
Use scrap fabric to test your design before stitching it onto your final project. This will help you:
-
Check thread colors
-
Ensure correct placement
-
Test tension settings
It’s a good habit that prevents mistakes and saves time.
8. Download Designs from Trusted Sources
There are many websites that offer free and paid embroidery designs. Choose trusted sellers that provide:
-
Proper file formats
-
Multiple sizes
-
Tested files with clean stitch paths
Look for sites with good reviews and clear licensing terms if you're selling finished products.
9. Maintain Your Machine
Keep your machine clean and running smoothly by:
-
Regularly removing lint from the bobbin area
-
Changing needles often
-
Using proper thread tension
-
Referring to the machine’s manual for maintenance tips
This keeps your stitches sharp and your machine in great condition.
10. Keep Learning and Experimenting
Machine embroidery is a skill that improves with practice. Join online groups, watch tutorials, read blogs, and experiment with:
-
Appliqué
-
In-the-hoop (ITH) projects
-
3D embroidery
-
Personalized gifts
The possibilities are endless once you get comfortable with the basics.

